It can be useful to set up a tunnel to view large files without the need to download them. This tutorial will use the DCC as an example, but the steps translate to any other server.
Installing Paraview
For this to work, you must have the same version of Paraview installed on both the remote and local client. If on the DCC, install Paraview your dolbowlab folder.
Setting up tunnel
First, start an interactive job on the DCC. You’ll need to connect to the DCC and then run:
det12@dcc-login-04:~$ srun --pty --time=01:00:00 -N1 /bin/bash
srun: job 18973477 queued and waiting for resources
srun: job 18973477 has been allocated resources
This starts an interactive session on a computing node. Replace the --time value with however long you want to visualize for. Though keep in mind that a longer requested time might lead to longer wait times for a node.
Your terminal should now show the name of the node you are connected to:
det12@dcc-core-46:~$
In this example, I am on core 46.
Now open up a new terminal window and open a tunnel to your connected computing node:
ssh -L 11111:dcc-core-46:11111 det12@dcc-login.oit.duke.edu
Once that connects, revert back to your original terminal, navigate to the bin folder of your paraview installation, and run:
(base) det12@dcc-core-46:/hpc/group/dolbowlab/det12/Paraview/bin$ ./pvserver
Waiting for client...
Connection URL: cs://dcc-core-46:11111
Accepting connection(s): dcc-core-46:11111
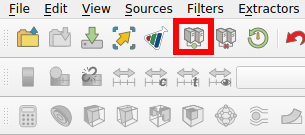
Now the server is ready. Open up paraview on your local machine. Click the remote server button:
Click “Add Server”. The default parameters should look like this:
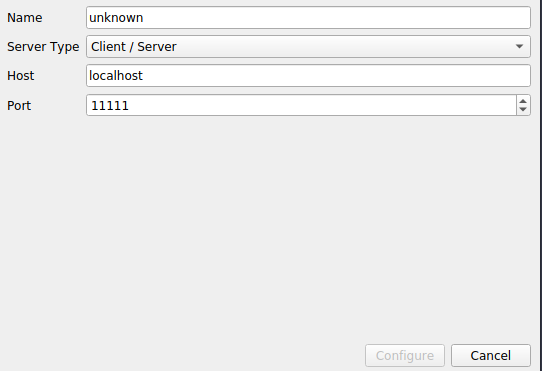
Click “configure”. Load the server you just connectefolderd to by double clicking on it.
Look back in the terminal running the pvserver. If all went well you should now see,
(base) det12@dcc-core-46:/hpc/group/dolbowlab/det12/Paraview/bin$ ./pvserver
Waiting for client...
Connection URL: cs://dcc-core-46:11111
Accepting connection(s): dcc-core-46:11111
Client connected.
Happy visualizing!